Tips for Grinding Glass Edges to Make Them Smooth and Burr-Free
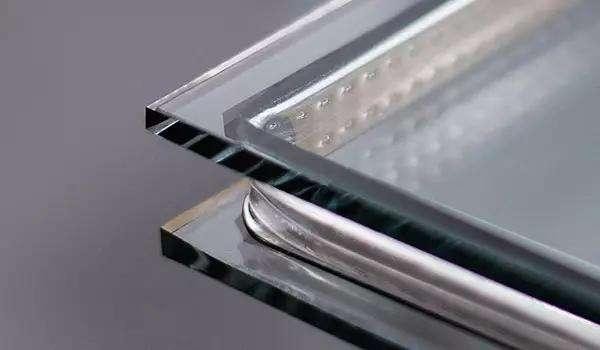
Grinding glass edges is a delicate process that requires precision and the right tools to achieve smooth, burr-free results. Whether you're undertaking a DIY project or working in a professional environment, it's crucial to follow correct procedures and use high-quality tools. This article provides tips for effectively sharpening glass edges.
Tool Preparation
1. Glass edge grinding wheel
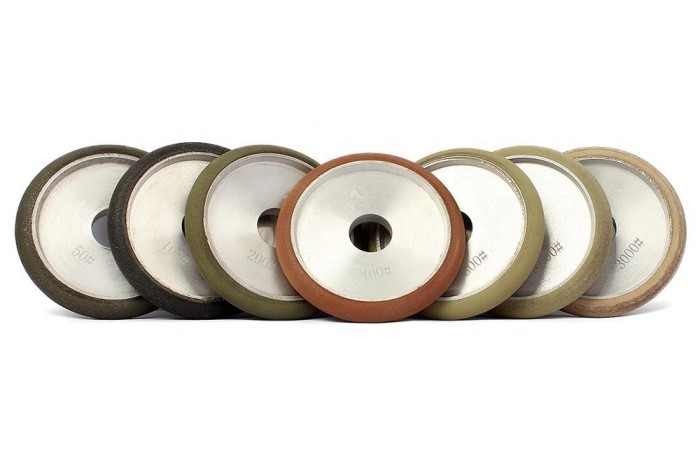
Quality matter: Choose high-quality glass grinding wheel designed specifically for glass processing. Low-quality discs may cause chipping, cracking, or damage to the glass surface. Look for wheels manufactured with precision craftsmanship to ensure optimal performance.
Grit size: Choose the right grit size for your grinding wheel. Coarse grit sizes (approximately 60-80) are suitable for initial grinding to remove sharp edges, while finer grit sizes (approximately 120-220) are suitable for smoothing and finishing edges.

2. Grinder
Machine type: You can choose between electric or pneumatic grinders. For most applications, electric grinders are more common and easier to use, while gas-powered grinders can provide more power for heavy-duty tasks.
Speed setting: The speed of the grinding wheel is critical for effective glass edge grinding. A moderate speed of 2000-4000 revolutions per minute (RPM) is recommended. This speed range allows for efficient grinding without overheating the glass, which can cause cracks or breakage.
3. Security tools
Safety glasses: Wear safety glasses to protect your eyes from glass dust and flying debris during the grinding process.
Gloves: Use cut-resistant gloves to protect your hands from sharp edges and potential injury when handling glass.
Mask: It is recommended to wear a dust mask or respirator to avoid inhaling the fine glass particles produced during the grinding process.
Operation Steps
1. Clean the glass
Use cleaner and clean cloth: Clean the glass thoroughly with a mild detergent and a soft cloth. This step removes dust, dirt, or grease that may interfere with the grinding process. A clean surface gives you a better view of any burrs or rough areas that need attention.
2. Place the glass
Place glass on the workbench: Place the glass securely on a stable workbench. Make sure it is flat and does not move during the grinding process.
Adjust grinder height: Set the height of the grinder so that it can easily reach the edge of the glass. This adjustment will help you maintain control and precision while grinding.
3. Grinding glass
Now that the glass is clean and in the correct position, you can begin the grinding process:
Choose the right grinding disc: Start with a grinding disc with a grit size greater than 50 grit. This coarser grit will help remove sharp edges and blemishes effectively.
Gently touch the edge: Place the grinding disc on the grinder and lightly touch the edge of the glass. Move the grinder along the edge, applying gentle pressure. Please be careful not to over-grind as excessive pressure may cause the glass to break or more serious damage.
Progress to finer grits: After initial grinding, switch to a finer grinding disc with a grit size greater than 120 grit. This step is essential to smooth the edges and remove any remaining burrs. Repeat the grinding process until the edges feel smooth to the touch.
4. Polished glass
Once the edges are sanded smooth, it's time to polish:
Use abrasive fluid: Use a suitable abrasive fluid specifically designed for glass polishing. Apply it to the edge of the glass to enhance the polishing process.
Use the fine grinding disc: Use the fine grinding disc to polish the edge of the glass. Pay attention to polishing time; over-polishing can cause white stains to form on the edges of the glass. Strive for a balance that achieves a clear, polished effect without going overboard.
Precautions
1. Focus on stability
Securing the glass: Make sure the glass is securely placed on a stable workbench or surface. Any movement during grinding can cause uneven edges or even breakage. Use clamps or non-slip pads to hold the glass in place.
Keep your hands steady: When operating the grinder, keep your hands steady to avoid applying uneven pressure. This will help prevent the glass from chipping or cracking.
2. Control grinder speed
Medium speed: The speed of the grinder should be set to a medium level. Speeds that are too high can generate heat and cause damage to the edges of the glass, causing cracks or breaks. The generally recommended speed range for glass grinding is 2000-4000 revolutions per minute (RPM).
Adjust as needed: If you find that the glass is heating up or you are having trouble grinding, consider reducing the speed. This adjustment can help maintain the integrity of the glass while achieving the desired finish.
3. Use protective tools
Wear safety equipment: Always wear appropriate protective equipment including safety glasses, gloves, and dust mask. This gear protects you from glass dust and flying debris, reducing the risk of injury.
Ensure proper ventilation: If you are working in an enclosed space, make sure it is well-ventilated to avoid inhaling fine glass particles. Using a dust collection system can also help keep your workspace clean and safe.
4. Consider professional help with larger glass
Assess the size of the glass: For larger glasses, it is best to seek the services of a professional glass processing factory. These facilities have specialized equipment and experienced technicians to handle large pieces of glass safely and efficiently.
Avoid DIY risks: Trying to grind large pieces of glass without the proper tools and experience can lead to accidents and costly damage. When in doubt, consult a professional to ensure the job is done correctly.
Solutions to Common Problems
1. Scratches appear on the glass during polishing
Identify source: Scratches can occur due to improper handling, using the wrong tools, or applying too much pressure during the polishing process.
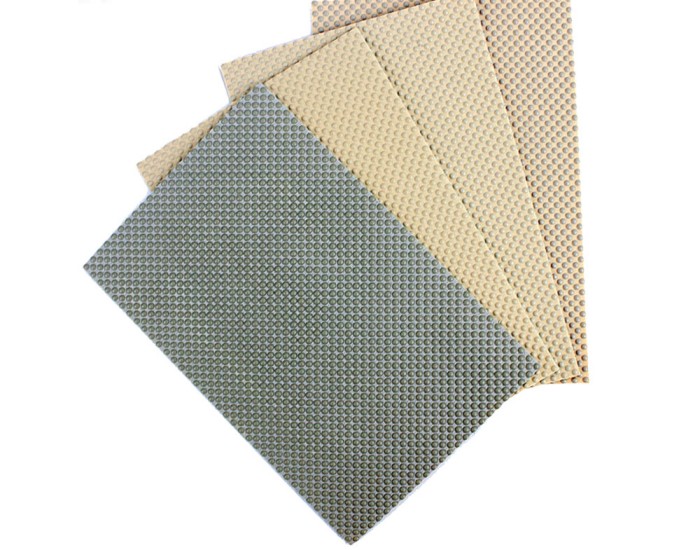
Use sandpaper: If scratches occur, use fine-grit sandpaper (approximately 400-600 grit) to lightly sand the affected area. Sand in a circular motion, applying gentle pressure, until the scratches disappear.
Use finer sandpaper: After removing scratches, switch to finer sandpaper (800-1200 grit) to further smooth the surface. This step will help prepare the glass for the final polishing stage.

2. White spots appear on the edges
Causes of white spots: White spots can be caused by overheating during the polishing process or residue left on the glass surface.
Use a polisher: If white spots appear, use a polisher with a soft polishing pad to polish the edges. This method can effectively remove spots and restore the transparency of the glass.
Clean with alcohol or cleaner: If spots persist, clean the edges with isopropyl alcohol or a mild cleaner. Apply the cleaning solution with a soft cloth, making sure to remove all residue. Rinse with water and dry thoroughly.
In Conclusion
With these tips, you can handle glass edge polishing with confidence and create a stunning finish.

-
Online service
-
Official wechat account

-
QQ:40933769
-
E-mail:sales@z-lion.com
Online Message
Please feel free to give your inquiry in the form below. We will reply you in 24 hours.

